My cold backup strategy
Table of Contents
I’ve always taken my data backup seriously, ever since a hard drive failure many years ago. Since then, I ensure I’ve got local redundancy in the form of ZFS, and then an off-site backup where the data lives in a separate country overseas.
But recently, I wanted something more for my most important files. A true, cold backup solution - something that has a small upfront cost, is offline, portable and immune to ransomware. What did I settle with?
Blu-rays! 💿
You’ve probably heard of Blu-ray discs when it comes to movies or other forms of media. They are a high capacity optical storage medium that uses a blue laser to engrave data onto the disc. These discs come in different sizes, up to 100GB.
- 25GB (BD-R) - Single Layer
- 50GB (BD-R DL) - Dual Layer
- 100GB (BD-R XL) - Triple Layer
Of course, the higher the storage capacity, the higher the cost! I managed to pick up a 50 pack of 25GB BD-R discs for £25.99 on Amazon UK. These lifespan of these discs do vary, with recordable ones lasting anywhere between 5 to 20 years! This is perfect for my backup solution as I intend to create new discs once or twice a year.
In order to write data to a disc, I need a Blu-ray DVD drive. I managed to find a Verbatim drive on Amazon which is slim, has USB-C and wasn’t too expensive, coming in at £99.99. It also supports 4K UHD Blu-rays, which is another hobby I’ve been getting in to recently. I see it as a multi-purpose tool, so its worth the initial investment for me.
I now have all the equipment I need to start making cold backups of my most important data!
Organising my data 🗄️
For this to work, I need to come up a system that allows me to organise and get my data ready to burn. This is a manual process, but relatively simple. Here’s what I’ve come up with.
- Copy my most important files from my NAS, onto my Macbook.
- Order the folders by size, and grouping them where the total size is less than 25GB.
- Copying the grouped folders into a new folder, called “Disc 01”, “Disc 02”, etc.
I do see room for improvement here:
- Automating the organisation process.
- Creating manifest files containing a tree-structure list of the content.
- Generating SHA256 checksums of all the data.
- Parity files (.par2) to fill out remaining disc space - helpful for bit-rot.
Burning the data 🔥
I don’t use any fancy burning software, just the built in one on MacOS Finder. I pop in a blank disc, and I’m greeted with this window.
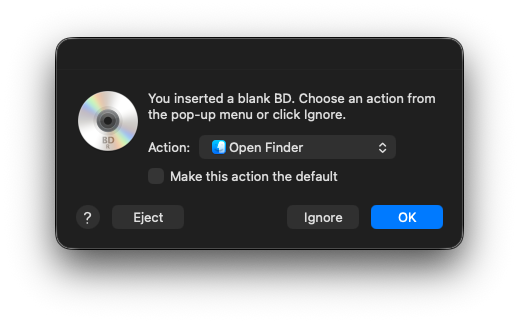
I can copy the files across to the disk, and hit “Burn”. It’ll burn the data, and then verify it to ensure all went well! Pretty painless really!
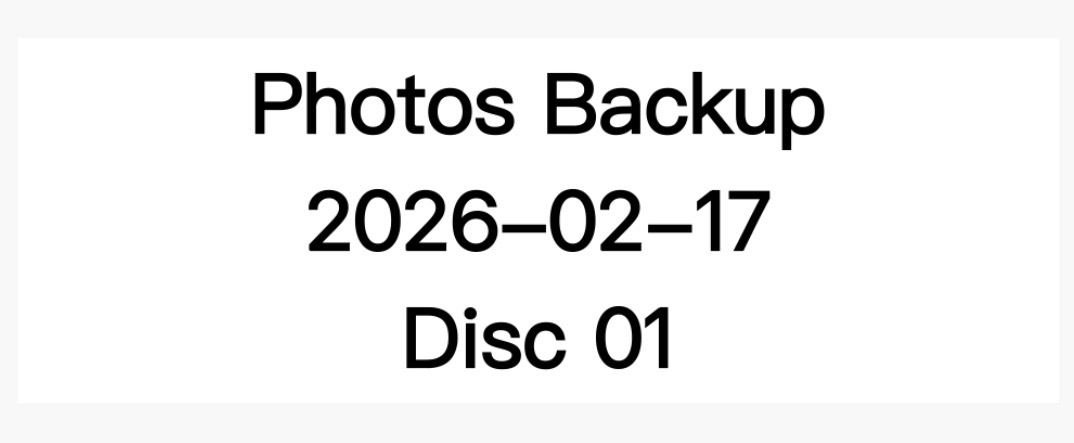
To keep my discs organised, I’ll use my label maker to create a label for it.
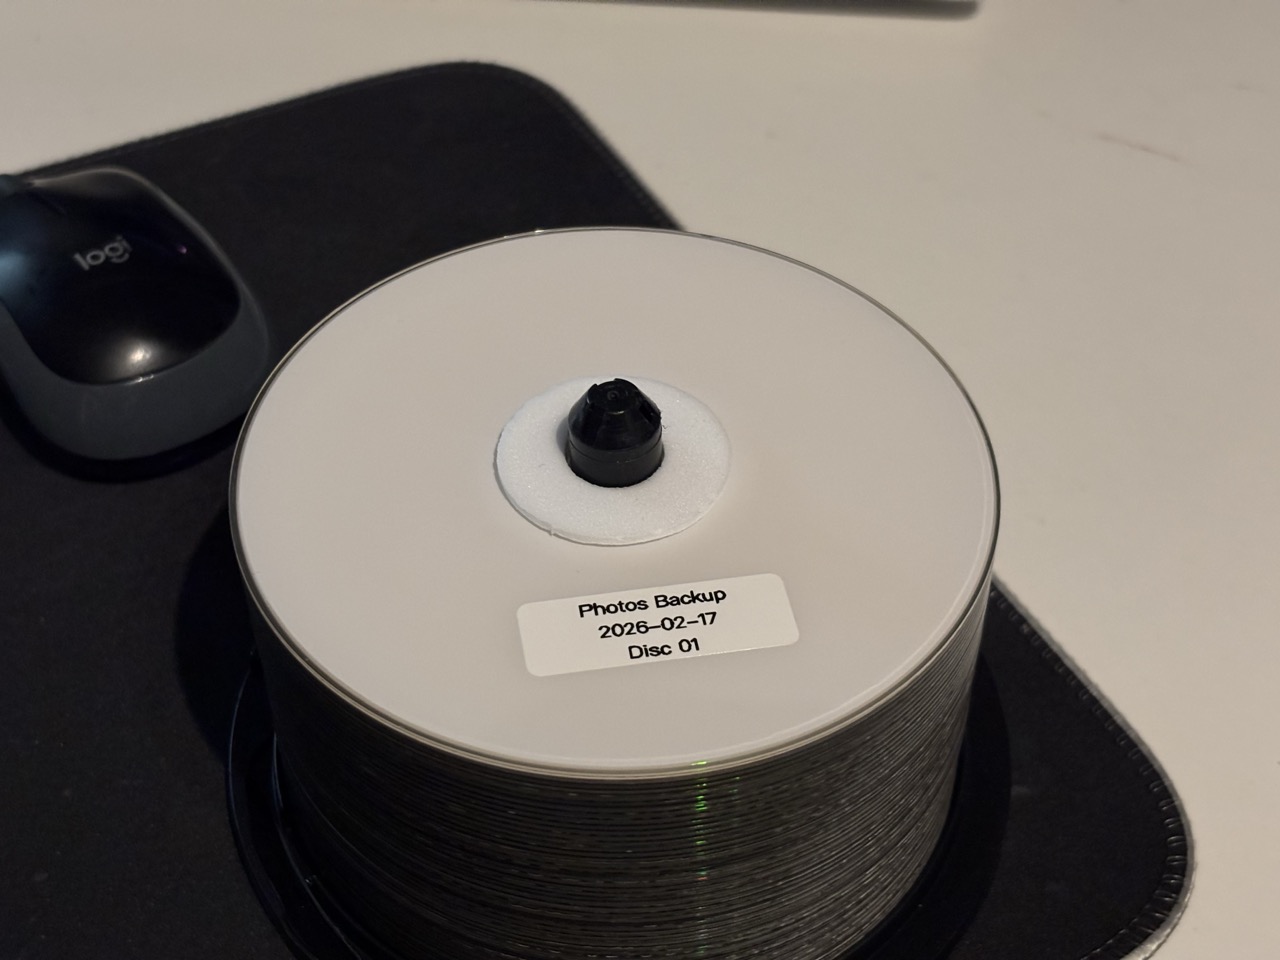
I’m still working on an ideal storage solution for my discs, but I’ll likely end up buying a CD/DVD binder for cheap, that can hold 100s of discs. For now, they will live on the platter of blank discs.
Conclusion
I know it’s not the fastest, or latest and greatest ways of doing cold backups, but for around £125 all-in I don’t think it’s bad at all! It’s cheaper than buying a HDD in this current climate, and a lot cheaper than investing in the hardware for tape backups. For personal use, I think it’s a good middle-ground.
This is something I plan to do once or twice a year, to ensure I’ve got a semi-recent offline copy of my most important data.